Propagating lupins by taking cuttings
Our site is reader supported, this means we may earn a small commission from Amazon and other affiliates when you buy through links on our site.
Of the three ways of propagating lupins – from seed as shown here and dividing them are the other ways – taking lupin cuttings is the easiest way to get established lupins quickly and probably my favourite way of propagating lupins.
Here’s my step-by-step guide on how to take lupin cuttings.
Wait until March or April – this is the best time to take cuttings from lupins
Spring is when the lupin plant produces new growth that’s suitable for cuttings. Generally you can get some good quality cuttings in March and April.
Don’t forget to sanitise your tools
Take your sharpest garden knife and carefully wipe the blade and handle with hydrogen peroxide or rubbing alcohol; you can also use disinfectant, including Jeyes Fluid. This ensures that you don’t transfer any disease spores that may be on the knife to your lupins, especially into an open cut.
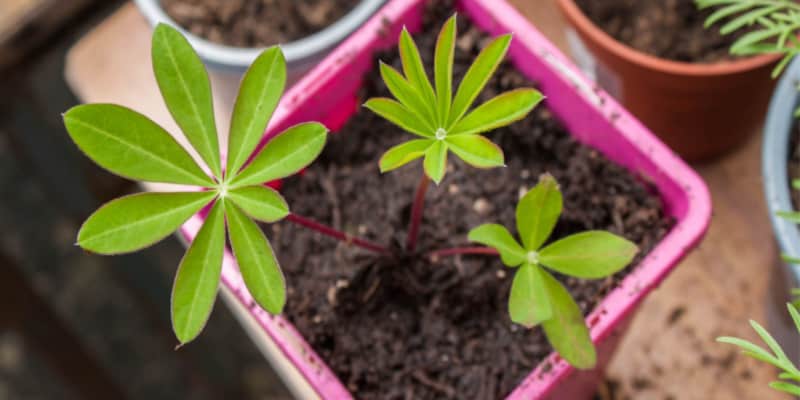
Choose your lupin cuttings
Choose a healthy plant that has new growth appearing on it is the trick to getting successful cuttings. For tree lupins, make sure to choose a softwood stem before it turns into hard wood. Softwood shoots which is what most gardeners will probably be taking, will have soft and flexible tips. For border lupins (the most common kind that most people have), choose a shoot that’s 7cm to 8cm long from the ground, and these are known as basal cuttings.
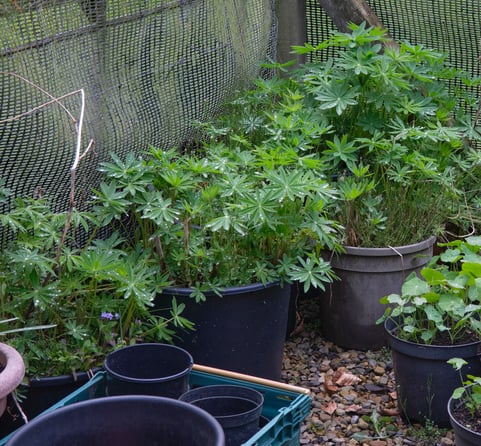
If you have established lupins grown in like in my picture above, these have lots of new shoots from the ground which are perfect for taking basal cutting from.
New shoots like in the picture below are also perfect for taking basal cuttings
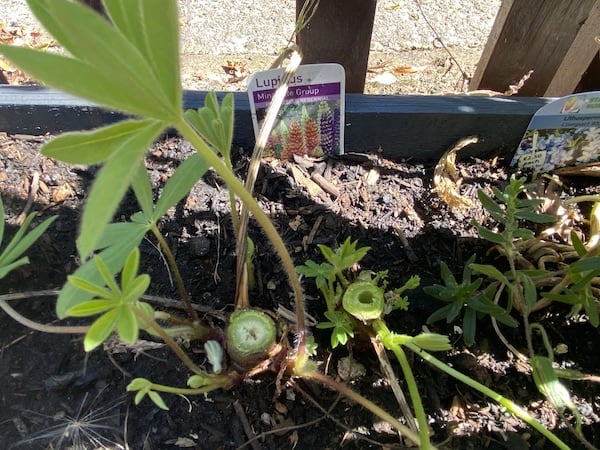
Depending on your climate and growing conditions, you may have to wait until slightly later in the season before your plants have cuttings that are suitable. I can usually get 4 or 5 cuttings off each plant.
Take the cutting
The aim here is to take all the new stem as far down as you can, sometimes just under the soil level. It’s best if you can cut down into the root a bit as well.
Hold the stem in one hand and take the knife to its base, where it joins the main trunk (sometimes, its actually just at the side of the main stem on its own). Slice into the trunk or just under the soil and down into the root a bit to remove the cutting.
Do this for as many cuttings as you would like. Usually, I don’t like to remove more than 5-6 cuttings from each plant.
Prepare the cutting
Now the cutting is separate from the plant, you need to make sure it’s in the best state for propagating. You need to be left with a single leaf or leaf cluster at the top of the cutting. Remove any excess leaves carefully. Also, remove any smaller shoots that are coming out from the side of the cutting. You should finish up with one stem with a single leaf (or leaf cluster) at the top.
Prepare the soil mix for lupin cuttings
Take some seed and potting compost and mix it with the same amount of horticultural grit to create a mix that drains well. You could use multi-purpose compost but it needs to have a finer grain. Sifting it first creates the right consistency. You can also buy seed and cutting compost and mix some grit through it.
Fill 1L (or 9cm) containers with this soil mix. It’s worth mentioning I like to do this before taking the cutting, so I can plant them straight away. I also store my cutting in a sealed back with a little water in if I can’t plant them straight away, with say a few minutes.
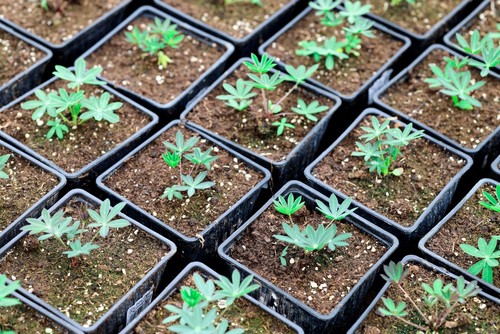
Plant the cuttings
Plant the cuttings around the edge of the container as they seem to rot off less here. Place one cutting to each edge or corner of the container. If your container is round, just space the cuttings out well. I usually plant 4-5 cutings per pot.
Water the container well.
Place the container carefully
Lupin cuttings need to be in a warm and humid environment. Create one for them immediately otherwise they start to wilt. A greenhouse is the best location for this but you can grow them indoors on a windowsill. Spray them with water regularly so that they stay moist and don’t dry out. But don’t water them too much as they hate soggy soil and will rot off.
I usually also place the pots in a propagator will a lid as this helps retain moisture. If you don’t have a propagator, you can place a clear plastic bag over the pot with an elastic band around it. I usually remove the lid or plastic bag for 20 minutes each day to let the cuttings air and also check if they need watering.
Wait
Wait until the cuttings establish themselves strongly. This is when the taproot looks strong and healthy and you can see them coming out of the bottom of the pot.
At this time, transplant them each into their own pot or take them outside and place them into the ground. See How to grow lupins for information about the conditions and environment that lupins prefer.
You can also learn what to do with lupins after flowering here to encourage a second flush of blooms