
How to repot a cymbidium orchid – step by step guide
Our site is reader supported, this means we may earn a small commission from Amazon and other affiliates when you buy through links on our site.
I recently did a guide on how grow cymbidium orchids on wood like you do air plants. However, I also like to grow them in pots. If you also want to grow them in pots, it is also necessary to repot cymbidium orchids if the plant becomes too large for its container or if you haven’t changed the soil mix in two or more years. This is not a difficult task, and here’s a step-by-step guide to repotting the plant.
Choose a new pot
Unlike with some other orchids there’s no advantage to growing cymbidium orchids in a transparent container. Any pot is suitable. Just make sure that it’s about 10cm larger than the current container and can hold the root ball and all the pseudobulbs (unless you’re planning on dividing the plant, see below)
Check that there are enough drainage holes in the bottom of the pot for all the excess water to flow out when you water the plant.
The right time to repot a cymbidium orchid
Wait until all the flowers have died (in the spring) before repotting the orchid. You need to catch the plant after its flowering period but before the new growth starts. This is important to repot them successfully.
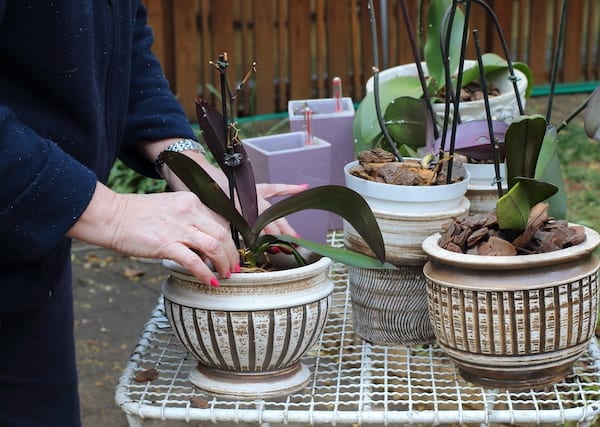
Remove the plant (and divide if wanted)
Remove the plant from the pot on your potting bench. If you don’t have one, just use some sheets of newspaper on your table. Check the roots and any pseudobulbs that have developed.
If there’s a large clump of pseudobulbs, you can choose to divide the plant to create an additional new plant. Divide the clump by cutting (with a sterilised cutting tool) through the centre of the clump and the root ball. Make sure each piece contains at least five pseudobulbs to continue flowering.
Untangle and clean the roots
For each piece of the root ball, carefully untangle the roots. Remove all the old compost so that the roots are clean.
Cut off any dead or diseased roots with your (newly sterilised) cutting tool. Any roots or pseudobulbs that are squishy, brown or shrivelled should be cut off.
Shorten the remaining healthy roots to around 15cm to 20cm.
Plant the orchid(s)
If you divided your orchid, you need to find another suitable pot for the second piece of orchid.
Pour some orchid potting mix into the bottom of the pot in a cone shape
Hold the plant up at the right level and fill in around it with more orchid potting mix. Gently tamp down the soil as you go but don’t compact it at all. It still needs to be fairly loose. This is important as orchids prefer loose soil and don’t like to be compact.
Test that you’ve done it right by lifting the plant by its stem. The pot and the compost should all come with it. If need be, press down the soil more and add more mix if necessary.
Water the plant in
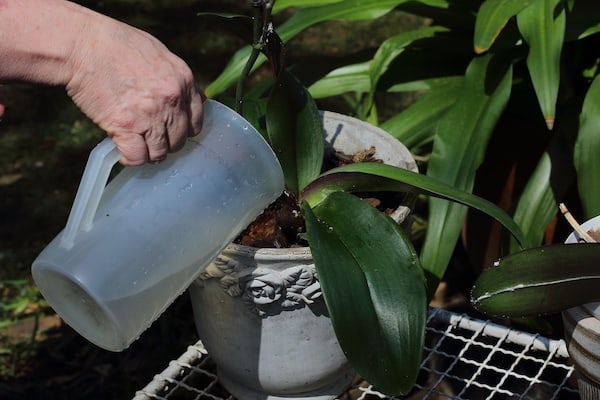
Give the plant a complete watering, letting the water run out through the bottom of the new pot.
Let all the excess water drain out and put the pot on a plate, just in case there are a few drips afterwards.
Place your orchid back in its home location and continue to care for it. I have a general growing guide on Cymbidium here which may be helpful too.
If you have issues with your cymbidium orchid is not flowering, check out my guide here.