
How to grow mounted orchids on wood
Our site is reader supported, this means we may earn a small commission from Amazon and other affiliates when you buy through links on our site.
Most people grow orchids in pots which I recently talked about here, including repotting them. However, in their natural environment, semi-terrestrial orchids send their thin roots down into decomposing leaves or into moss on stones or trees for their nutrients. Cymbidium orchids are one species of this type, and they’re one of the easiest orchids to grow in the home. Here’s how to grow orchids mounted on wood instead of in a pot. This is now one of my favorite ways to grow Cymbidium orchids, so let’s get started to learn how I actually mount them to wood.
The best time to grow mounted orchids
As with repotting (see my article on How to repot a cymbidium orchid), the best time to mount an orchid on wood is after flowering and just before the new growth starts to appear. This is usually in the spring for cymbidium orchids. Wait for a few new roots to appear, as this will ease the orchid’s transition to its new home and help it recover faster from the trauma of moving.
Choose your piece of wood
Careful selection of your piece of wood to grow mounted orchids means that you don’t have to worry about resiting your plant when it grows bigger. Think to the future when choosing the size of the wood. Pick a wooden piece that allows for several years growth.
Make sure that you choose natural wood. Don’t pick anything that’s been treated in any way, whether painted, preserved or stained. Don’t choose saltwater driftwood as the salts in it will harm the plant. Consider wood from fruit trees such as apple or cherry, or hardwoods including oak, cedar and dogwood. Choose a piece that has character to add to the visual appeal of the orchid rather than a plank-like piece.
Choose your wrapping material
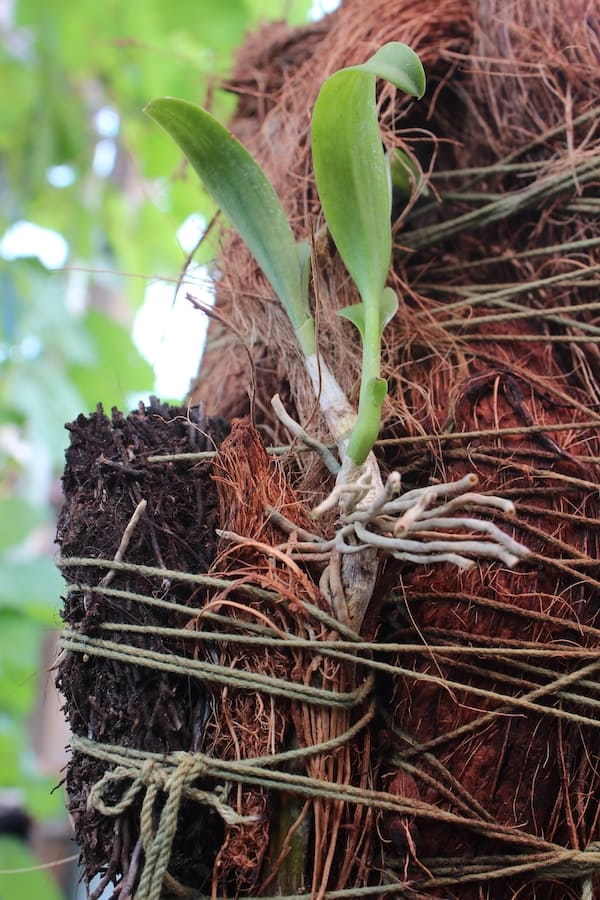
Your orchid needs to have its roots wrapped to preserve moisture. The two most popular materials for this are sphagnum moss which is what I use, plus its readily available and coconut fibre. Both retain water but not too much so that the plant’s roots become waterlogged.
Choose your orchid
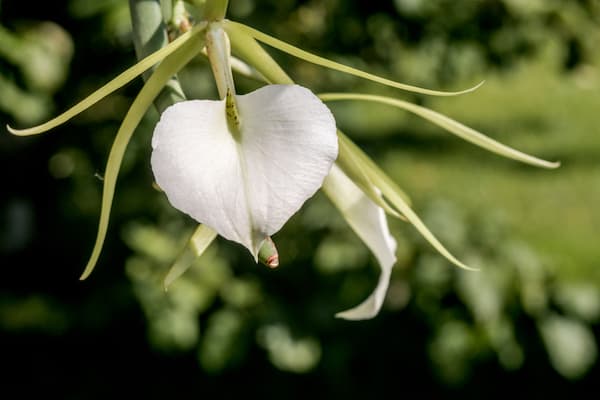
I’ve talked about the cymbidium orchid, but there are other types of orchids which do well on wood mounts. Consider cattleyas orchids as well as brassavolas as these are well suited to this type of display.
Make sure that the orchid is very healthy and is actively producing new roots. It needs to be strong and growing to survive this.
Prepare your wood mount
If you plan to hang your orchid on wood on the wall, you need to create a flat surface on the back of the wood and then attach hanging hardware. For table displays, just clean the wood and remove any unsightly bits.
Attach the orchid to the wood mount
First of all, you need the plant’s roots to be soft and pliable, so soak the plant for about 15 minutes. Soak your moss or coconut fibre in water so that it absorbs as much water as possible. This takes around 20 minutes until these materials are hydrated. Squeeze out any excess water.

Remove the plant from its existing pot to sheets of newspaper on the table. Gently take off all the old potting mix. Using a sterilised cutting tool, cut off any dead or diseased roots. (They’ll be shrivelled, brown or mushy.
Secure the moss or coconut fibre to the wood mount to act as a cover. Use twine to attach everything together.
Then spread the orchid’s roots over the moss/coconut fibre on the mount and cover them with a thin layer of the moss or coconut fibre material (like a sandwich). Make sure you identify the direction of growth of the roots and pseudobulbs so that the orchid will grow in the right direction along your wood.
Use the fishing line to wrap everything together. Pull it tight enough so that nothing moves around but not too tightly as to cut into the plant’s roots.
Place the mounted orchid
To reduce transplant shock for your orchid, place it initially in a shaded location. It needs to get enough (dappled) light and should be in an accessible location for daily watering.
Watering
If your orchid is indoors, take it over to the sink. Using rainwater if possible (if not boiled tap water will do) let the warm water (NOT boiling) run over the roots.
An alternate way is to place the wood mount in a tray and water the plant from a watering can, again using rain water if you can.
Yet another watering method is to carefully dunk the orchid in a bucket of water. Be sure to change the water, however, between orchids as you don’t want to carry disease or bugs from one orchid to another.
After watering (with any method) make sure to fully let any excess water drain from the orchid roots and moss. You don’t want a waterlogged plant as that just invites bugs and disease in.
And keep water away from the leaves. Leaves absorb water from the humidity in the air and not from the water used on the plant.
Humidity
Mounted orchids require more humidity than those grown in pots. You may need to provide a humidifier in the room with these plants. Or at least, frequently mist the plant which is what I do, but only the roots and the moss, not the leaves.