
How To Take Cuttings From Cordylines From Side Shoots and Suckers
Our site is reader supported, this means we may earn a small commission from Amazon and other affiliates when you buy through links on our site.
Taking cuttings is the quickest and the easiest way to propagate them, especially if you don’t want to wait the few years it could take to get a sizable plant if you are cultivating them by sowing seeds. Taking cuttings from the mother plant ensures that the new plants are exactly the same as the mother plants whereas, seeds don’t always come true to seed, and this will depend on the variety you get.
This, in turn, will create uniformity in your garden instead of cultivating different varieties. But for me personally, it means I can have a higher number of garden-ready plants within a year and they are incredibly easy to root.
From this guide, you will learn how to take cuttings from a Cordyline, pot them on and then plant them directly into the ground.
When is the best time to take Cordyline cuttings?
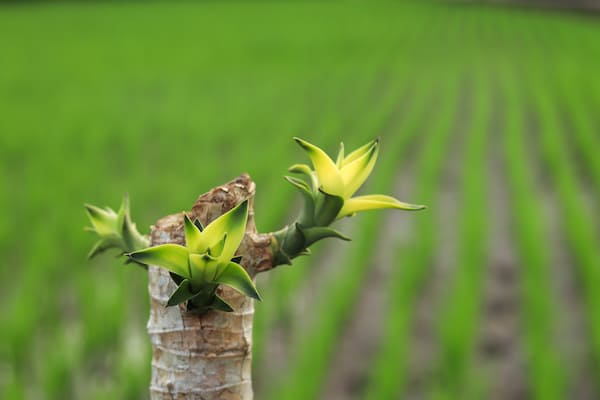
The best time to take cuttings is from spring through until summer because they will then have enough time to root before the winter sets in. There are two types of cuttings I like to take and the first one is using the small side shoots that come off the main trunk, which usually forms after pruning. The second type of cutting is to take from the base of the Cordyline where new suckers shoot from the roots.
If you prune your Cordyline in spring (which I usually do) to encourage the main stem to form several new branches, within a few weeks you will begin to notice that you are getting lots of side shoots emerging from the main stem. I usually remove all but the top few shoots, I leave these to form the new branches on my established shrub.
However, if I decide I want to take some cuttings from the base of the Cordyline instead, I will leave the lower shoots on to establish a little before I remove them. Typically situated at the lower section of the stems, these shoots should be given a few months to a year to develop foliage. Slightly older cuttings have a higher chance of developing healthy and vigorous roots.
You can use rooting hormone on the stem, but it is not a must because the rooting system will take hold if the soil conditions are right. It is better to harvest and plant the cuttings early so that the plants have time to establish themselves before the winter comes around.
How to take a cutting from a Cordyline
Method 1
The first thing you will need is a sharp knife or pair of secateurs. Disinfect them to prevent the transfer of any diseases. If you are taking smaller shoots from the main plant (usually after pruning), remove them as close to the main stem as possible and dip them in some rooting hormone. Once you have done this, plant them into small pots filled with seed compost or normal compost mixed with 50% grit. After all the cuttings have been planted, keep them inside a greenhouse in small pots and plant them out the following spring.
Method 2
The second type of cutting you can take from Cordylines is from the base of the plant. This is a common method as Cordylines often naturally grow new shoots at the base of the plant. Once they are a little established you can cut these away from the main plant and they usually always have some root already.
You have to be quite rough when undertaking this method as the stem and roots are usually fairly thick. The idea is to slice right down between the main plant and the new plant, totally separate it and dig right into the soil at the same time so you can retrieve any root that has already formed.
Once you have removed the new plant from the parent plant, remove some of the lower leaves, sprinkle over some rooting powder and plant it into another pot. Using potting compost is fine for method, having also mixed it with some grit or you can plant them straight into the ground.
If you want to learn how to grow Cordylines from seed then you can read my guide here
Planting Cordyline cuttings: What you need to know
- The composition of the soil is vital for the roots to take hold. You don’t want to use a dense soil that will be an obstacle to the roots’ further growth. The soil must be well-drained and aerated to facilitate easy root establishment. Usually a seed and cutting compost is fine or you can mix 50% compost with 50% grit or perlite.
- When transplanting the cuttings, be careful not to push down the cuttings too much into the soil and damage the rooting nodes. Be gentle during the transplant to reduce the effect of transplant shock.
- Cordylines need the sun to thrive. Do not transplant the cuttings and leave them in a shaded area, although dapped shade is fine. Let them absorb the sun and make more food through the leaves to support the new growth.
- Do not forget to add well-rotted manure or a well-balanced fertiliser to assist the cuttings with their new growth. Nutritional deficiencies may affect a cutting’s ability to foster or maintain new growth, thus leading to failure.
- Cuttings are at risk from pests or diseases, especially those sitting in water-logged soils. If you see yellowing leaves or signs of pests, it is best to find a solution quickly. The cuttings are already in a vulnerable state, and attacks from pests or diseases may further weaken the plant. Try using organic methods to prevent chemical damage to an already weakened plant.
You can learn more about some common pests and diseases in my guide here
Conclusion
Multiply the Cordyline varieties you love without breaking a sweat using the tips above. In the same way that cultivating Cordylines through seeds needs patience; using cuttings needs patience too. Keep monitoring the cuttings until new growth develops and hardens for you to breathe a sigh of relief. When the cuttings are established, nature will do the rest.
Read next: How to revive a dying Cordyline